
This Easy Sewing Stuffed Bunny Tutorial is great for beginners and a perfect project for older children or to give as a gift.

Planning your Easy Sewing Stuffed Bunny Tutorial
The first steps in planning any project even this easy stuffed bunny is to analyze what type of material you want to use. Think about what you like to do and what the steps are needed to complete the project. If possible visit the fabric store and feel the textures of the material and look at the patterns. Next, make a list of all the supplies you need before purchasing such as thread, push pins, elastic, etc.
I recommend looking through magazines, and internet for ideas to inspire you to create a sewing project such as the stuffed bunny I will be sharing today! Pictures can help you to decide on the type of sewing project you like to tackle.

Sewing simple project such as the stuffed bunny, apron or pillow cover are great for beginners who want to learn to sew and work with a machine.
Easy Sewing Stuffed Bunny Tutorial Video
Basic Seams and Techniques for Easy Sewing Stuffed Bunny Tutorial
All seams in most sewing projects are 1/2 inches unless otherwise noted. To secure seams create a backstitch at each end of the seam. A backstitch stitch is done during your project when you sew in reverse.
Creating a perfect stitch, be sure that your needle is the right size for the thread. The thread and the length of stitch should be right for the fabric you are working with.
Use the same thread in your needle and in the bobbin.
To create the right tension the thread and stitch must match the fabric you are working with. Check your owner’s manual for adjusting the tension.

Plain Seam is suitable and most common for almost every fabric including application.
French Seam is perfect to eliminate raw edges such as exposed seams. I use this seam when you do not want it visible in your project
Interlocking Seam completely encloses a raw edge. Sew this seam on the wrong side of the fabric using your hemmer attachment that is included in your sewing machines accessories.
Zig Zag Seam have a zig zag finish and prevent raveling. Use a zig zag seam on heavy material or for a finish look to your project.
Importance of Hand Stitching
Almost all sewing projects can be done on a sewing machine but, sometimes hand stitching is necessary. Closing seams opens in stuffed pillows or for this DIY stuffed Bunny. There are a couple of basic hand stitch you should get familiar with sewing. These stitches I have used regularly and find helpful.

Running Stitch is a straight stitch and very simple to master. Once your needle is threading this stitch with work form right to left. Take several stitches through the needle before pulling it through.
Overcasting is a flat, secure stitch for finish any seams edge. Using the overcasting is pretty common and fairly easy to do. You will stitch your material together by going over and under along the edge of the material.
Beginner Tips to using a Sewing Machine
First, I want to say do not be nervous or intimated on learning to sew on a sewing machine. Every day I am learning and growing on techniques on how to use my beginner sewing machine. I did self-taught myself learning on a “hand me down” Viking and then moving on to my “beloved” Singer.
Sewing Machines have developed and are more user friendly in today’s modern world. Sewing machines are great for beginner sewers because they provide a professional look and saving time on your projects. Sew Machine are very efficient and convenient to have in your home from hemming a pair of pants, updating a space or creating homemade gifts.
Research before buying a machine that will fit your needs. Check with local stores that provide services to sewing machine for maintenance and care about advice on the best machine that is user friendly, simple to repair and popular amongst new sewers. You want to choose a machine that is reliable and give a lifetime of perfect service. A machine should be selected on how readily supplies and services are available.
After selecting a sewing machine, it is up to you to keep with its upkeep. Make sure your sewing machine is clean and oiled for the best possible condition; this is determined by how much you use it. Regularly wiped your machine clean and always cover when not in use.
Easy Sewing Stuffed Bunny Tutorial
These bunnies are precious and adorable for Easter and with a Farmhouse flair to gift or to decorate with this spring!

- 1/4 yard of your favorite cotton Farmhouse Fabric (you can get more to create and sew more bunnies)
- Brown Bakers Twine (I purchase mine from the Dollar Tree)
- White Pompom (I purchase mine from the Dollar Tree, this is optional to add to your bunny)
- Cotton Stuffing
- Multi-Purpose Thread in Matching or Coordinating with your material selection
- Straight Pins with round heads
- Pinking Shears
- Bunny Pattern (freebie included with this post)
- a weight I used Dollar Tree Rocks
- Sewing Machine
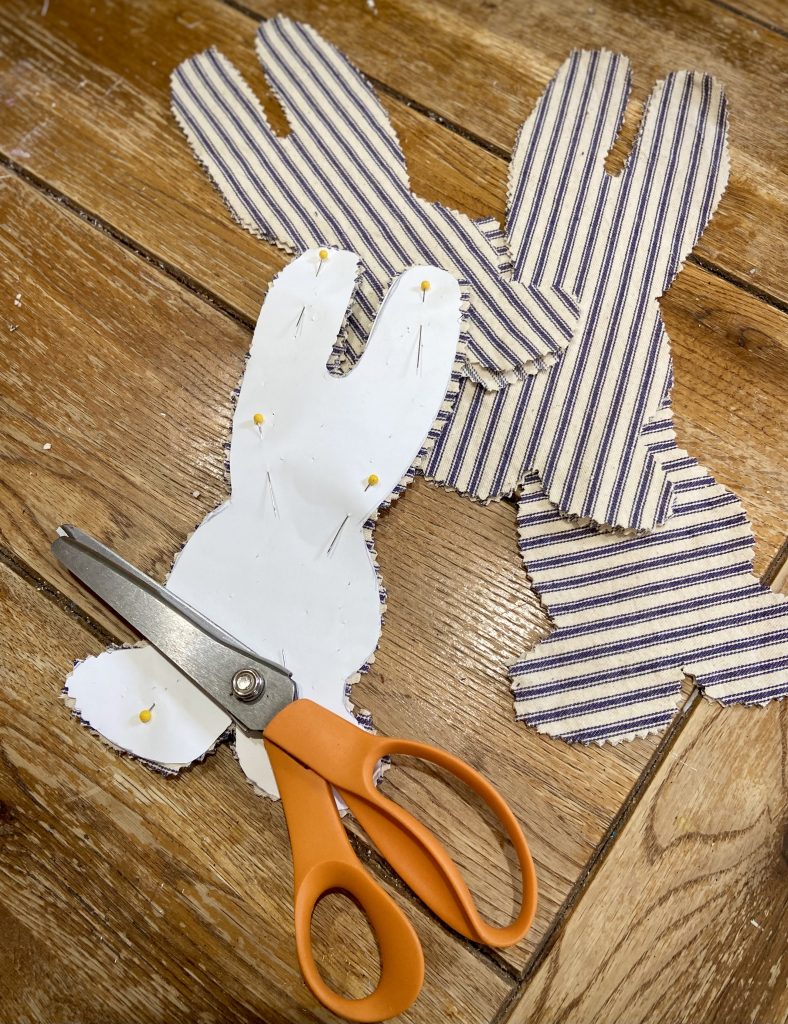
First, prewash your fabric and dry. After your material has been washed take a hot iron and iron your material to remove any wrinkles. Next, cut out your bunny pattern.

Take your material and fold in half with the right side faced inward. Take your bunny pattern and pin with your straight pins directly to your material.

With your pinking shears cut out your bunny shape. Thread your machine and set your pressure and tension appropriately. Now remove the pins and pattern and re-pin your bunny without the pattern. Sew your Bunny using the matching thread leaving a 1 inch hole somewhere on the bunny.
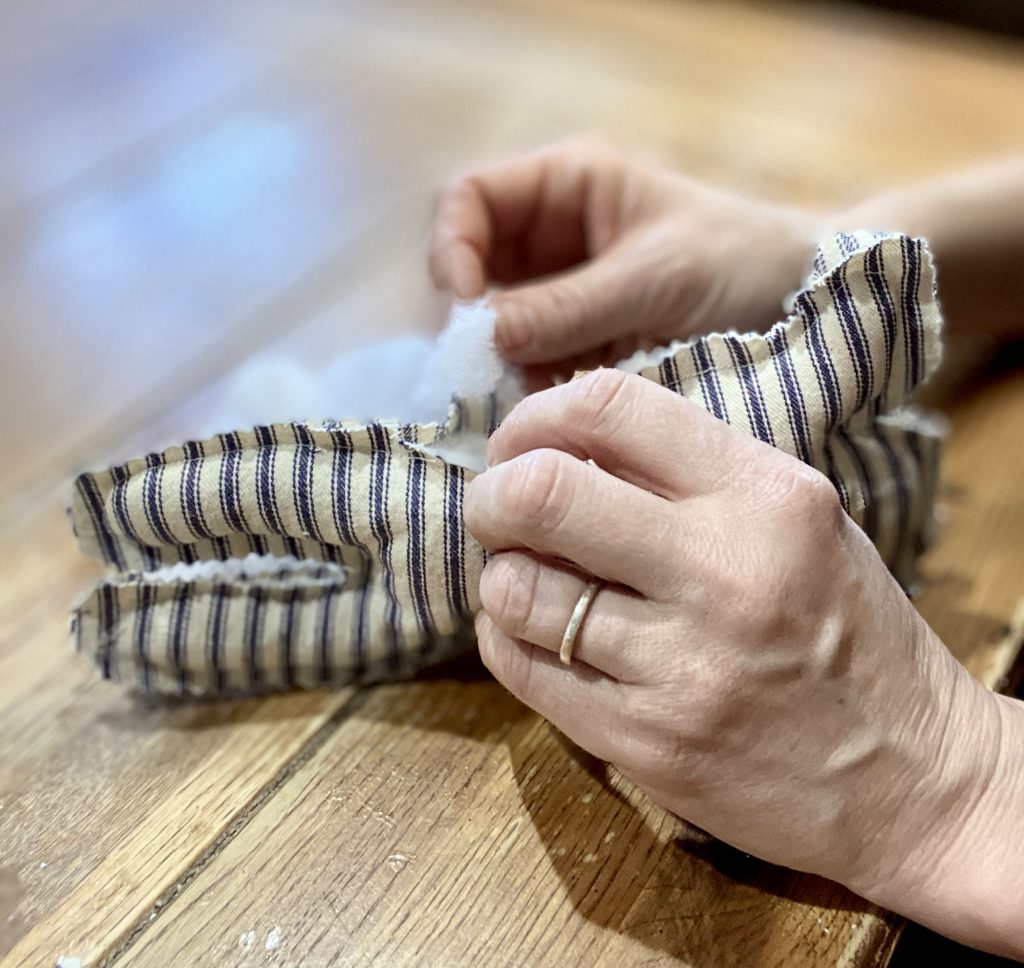
Fill the hole with your cotton stuffing. Sew the opening with your machine a hand stitch. Tie twine around the neck and make a cute bow.
Finally, take your needle and thread and sew your bunny tail (pompom) to the back for the bunny if you desire (this is optional). Gift this bunny to someone special in their Easter Basket or use to decorate spring.
Leave a Reply