
Techniques and equipment of today can make learning how to sew a work apron with pockets tutorial great for beginners and experience seamstress.
How to Sew a Work Apron with Pockets Tutorial Video
Sewing Tools Needed for Work Apron with Pockets
Having good sewing tools in essential to produce good work, save time and money. Good Tools creates a professional look and confident a job well done. In sewing use the best tools and keep them in the best condition by placing is a convenient, safe spot.

Scissors
Scissors are an investment that you will need. I like to have two pairs of sewing scissors; one for cutting material and the other just for clipping lose threads. Your cutting scissors should be about eight inches in length and heavy duty. I would purchase scissors that have a good warranty and excellent quality.
How to Sharpen your Scissors
Always keep your scissors sharp and in good condition. You may sharpen your scissors at home or from a professional. If you get professionally done most hardware store will sharpen them for you.
Sharpening your scissors at home can be an option as well.
First, use sandpaper to sharpen your scissors for a less expensive option instead of replacing them.
I take the sandpaper and fold in half, leaving the grain side outward. Take the scissors and make several cuts sure beats buying new or paying for a professional service to sharpen!
Lastly, to ensure the longevity of your sewing scissors do not use them on anything else but, fabric.
Needles and Pins
Pins are a necessity in beginning sewing. Your pins should be dressmaker pins and thin and sharp. Pins should not big; where they will leave pin hole in any fabric you are working with. Use seamstress pins to create accurate work and save time. I like using a pin cushion to place my unused pins into.
Needles need to be used in conjunction with your thread and fabric. Use a fine needle for fine threads and a heavier needle is needed for strong material.
Next, when buying needles for hand stitching or your sewing machine look for the needle that will work best with the fabric you have selected to sew.
Remember, buy a needle that is made of steel and the point is smooth and sharp.
It is best to use a sharp needle and replace any dull ones for getter results.
Thread
Thread just like a needle needs to be purchase in a coordinating color of the material you are working with. You want your thread to blend with the colors within the material.
Finally, thread should reflect the fabric you are buying.
For Example, fabric such as cotton; thread should be cotton, heavy duty or multi-purpose.
Optional Supplies for Beginners
I usually buy multi-purpose thread for all my sewing projects.
An Iron is important for all your sewing projects especially this work apron with pockets to create a finish look.
An electric iron is an option because, it heats up quick and retains its heat.
I like using an iron in between sides that I sew to smooth the fabric and give a finished look.
Tape Measure are important to sewing because we measure everything when there is cutting and sewing involved.
Your work must be accurate, and a tape measure will be your best friend in achieving a tailored work apron with pockets.
I like to use a tape measure ribbon because it is easy to store and very versatile for my needs such as measuring bust, waist, and hips.
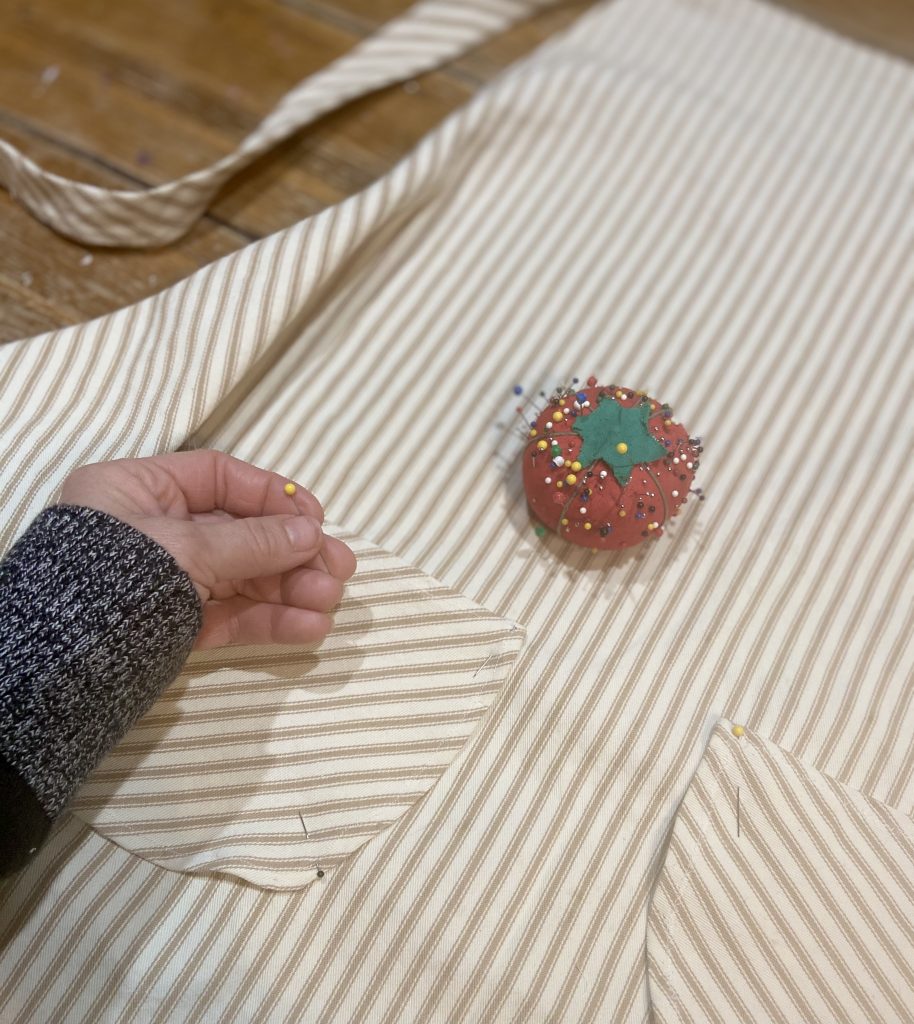
Tips on Sewing a Side-Seam Pocket for a Work Apron
Pockets can be utilitarian or decorative. I prefer pockets on my apron to be practical and functional. The Side-Seam pocket that we will be sewing for our work apron is neatly side in the side close to the seam.
I like adding a pocket to any thing even if a pattern does not call for one.
Before any pockets are joined place the right pocket against the right side and sew together ; repeat on the opposite side.
Do not forget; never sew the opening of the pocket. Often I find myself forgetting and sewing the top of the pocket. Yikes!
Remember pockets are optional and you do not have to add to this apron if you so choose.
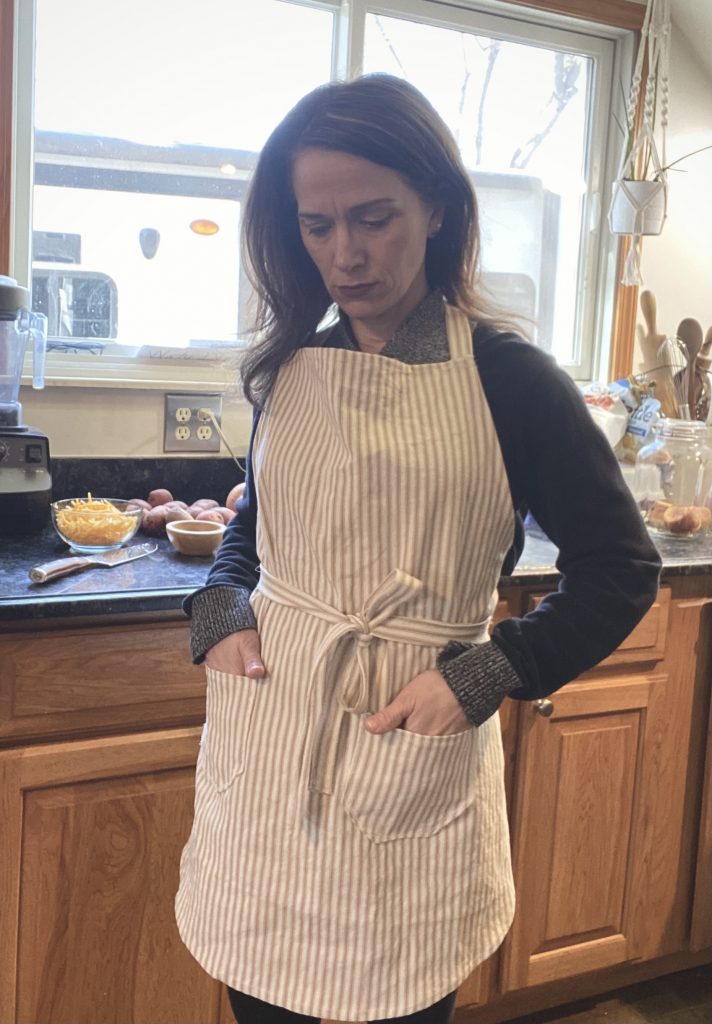
Sew a Work Apron with Pockets Tutorial
Aprons were traditionally used to complete projects around the home both indoors and outdoors to keep clothing nice and in shape.
Nowadays, aprons are worn less due to cheaper clothing but, many do still wear in their daily routine to keep clothing tidy.

Materials
- 2 yards of Fabric in desire color or Pattern (I would recommend cotton, gingham or cotton blends)
- Iron
- Sewing Machine or Hand Sewing Supplies
- Pins
- Tape Measure
- Multi-Purpose Thread in coordinating Color
- Scissors
- Apron Template
- Scotch tape
- Apron Pattern
First, wash and dry your material. Warm up iron and set at the appropriate temperature.
Once the fabric is dry and iron warm; iron to get out all the wrinkles.
Print out your template and tape together. Take your material and fold in half with the right side facing inward. Cut out your template and pin to your fabric using your pins. The main apron place on the fold as stated on the pattern.

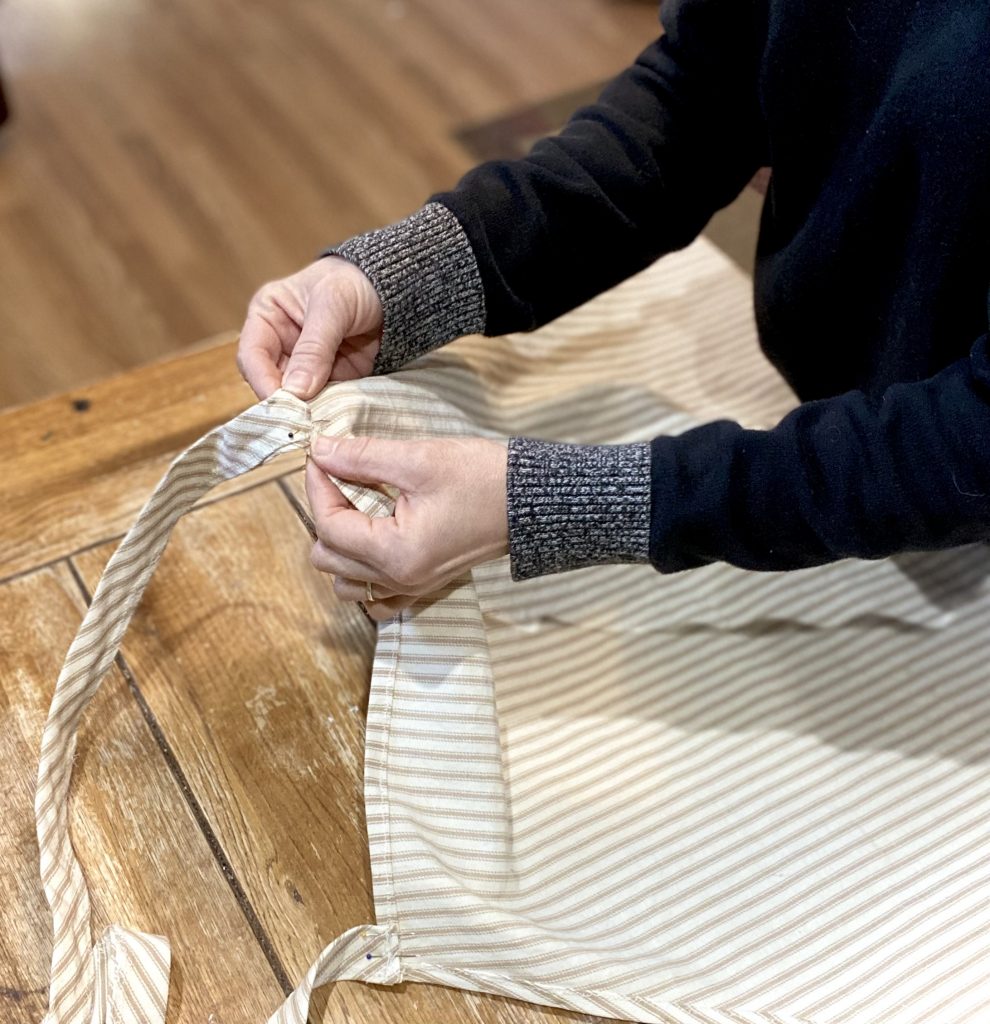
Remove the template and fold the waist strap and neck strap in half. Sew 1/4 straight stitch in your sewing machine.
I like to use an iron to iron the seam down before sewing. Also, you can sew inside out and then turn both straps inside out and then tuck each end and sew. Iron neck and waist strap.
Now sew your pockets seams about 1/4 inch and press using your iron. Attach pockets to your apron with straight pins. Sew pockets to the apron.
Double hem the top and the bottom of the apron about 1/2 inch. Sew all the hems using either a straight or zig-zag stitch.
Stitch a box stitch to connect the neck and waist straps.
Trim any lose threads and give the apron one final iron to complete the project.
Leave a Reply