
Anyone can garden and I want to give you the ability to enjoy gardening. Let’s learn how to start vegetable seeds indoors.
How to Start Vegetable Seeds Indoors Video
You can buy seedlings at any garden shop but, starting your own indoors is easy and affordable. Starting vegetables seeds indoors give you a lot of options such as varieties to choose from; and only cost pennies per plant.

Starting vegetable seeds indoors is the most cost effective on your budget.

At the start growing indoors has many benefits, you can control temperature, lights and moisture levels. Plus, there is something exciting about watching your seeds turn to plants.
Tips to Start Vegetables Seeds Indoors in Michigan
Most vegetables can easily grow from seeds.
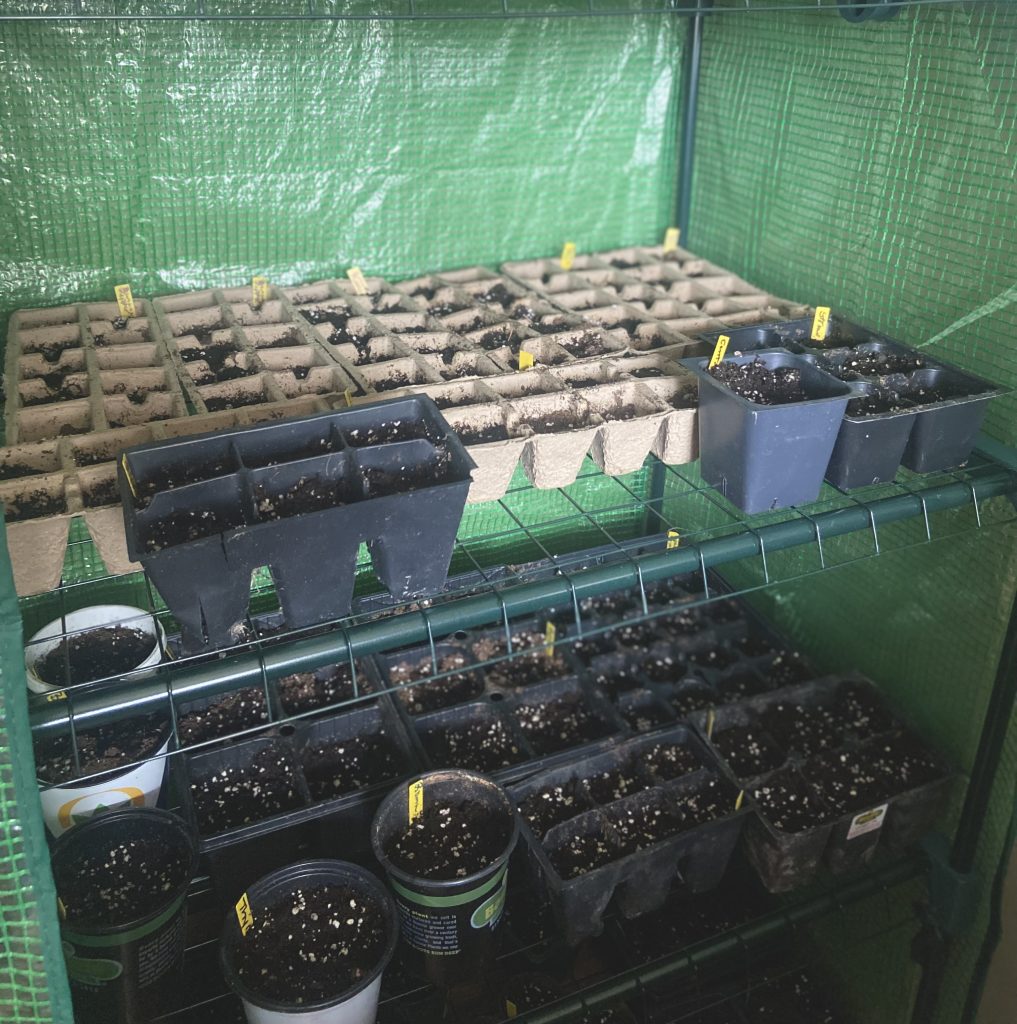
If you have a greenhouse that is a wonderful way to start seeds but, you can start anywhere indoors with good lighting, great soil and plenty of water it can be done.
You do not need a lot of fancy equipment when you start vegetable seeds indoors.
Seed trays with great drainage is nice and if you need additional lighting, you can use some fluorescent lights to help with growth.
If you do not want to spend tons of money on seed trays you can recycle old plastic tubes, yogurt cups, or aluminum trays. Poke holes in the bottom of the containers for drainage.
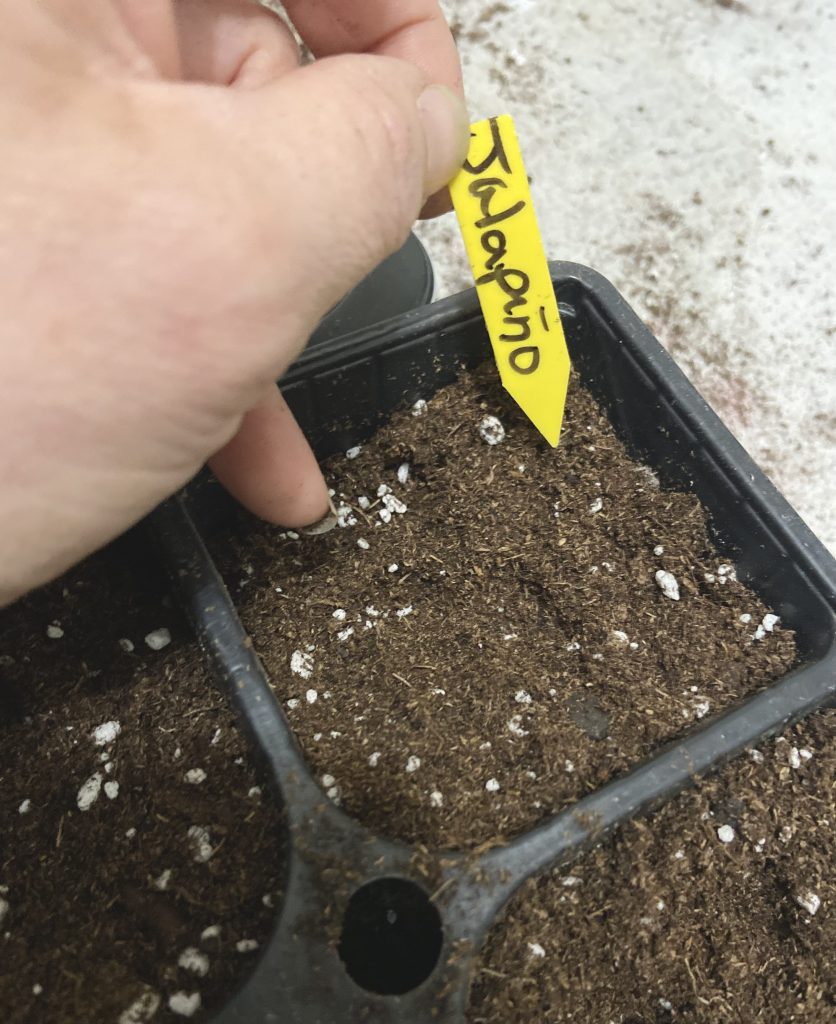
Label all your containers because you will lose track of what you are trying to grow.
I like to label the date I plant my seedlings with a sharpie marker.
Craft sticks can help with labeling if you do not have a space on the container.
Use seeds that are new, and within the growing season. Germination declines as your seedlings age, seeds should be use in the year they are package or preserved.
Use a good quality soil and not the soil from the ground. The soil from the ground contains bacteria and fungi that will affect your seeds. Seed Starting mix should have peet moss and vermiculite. The mix should be soil less and sterile.
How to Start Vegetables Seeds Indoor for Spring
What you will Need
- Seeds Packets of vegetables such as peppers, lettuce, cucumbers
- Soil or Seed Starting Mix
- Plastic Seedling Trays or Containers (these can be recycled)
- Plastic Lids or Plastic Wrap
- Fluorescent Shop-Light Fixture
1.) First, depending on your zone will determine when you start your seeds indoors.
Keep in mind your last frost date and count backwards to determine the start date of planting your seedlings.
My last frost date is usually around Mother’s Day which is the second week in May.

2.) Fill your seed tray with damp planting mix, firmly pat down until it is about seventy five percent filled. Your planting mix should be moist. Create a moist soil by add a bit of warm water.
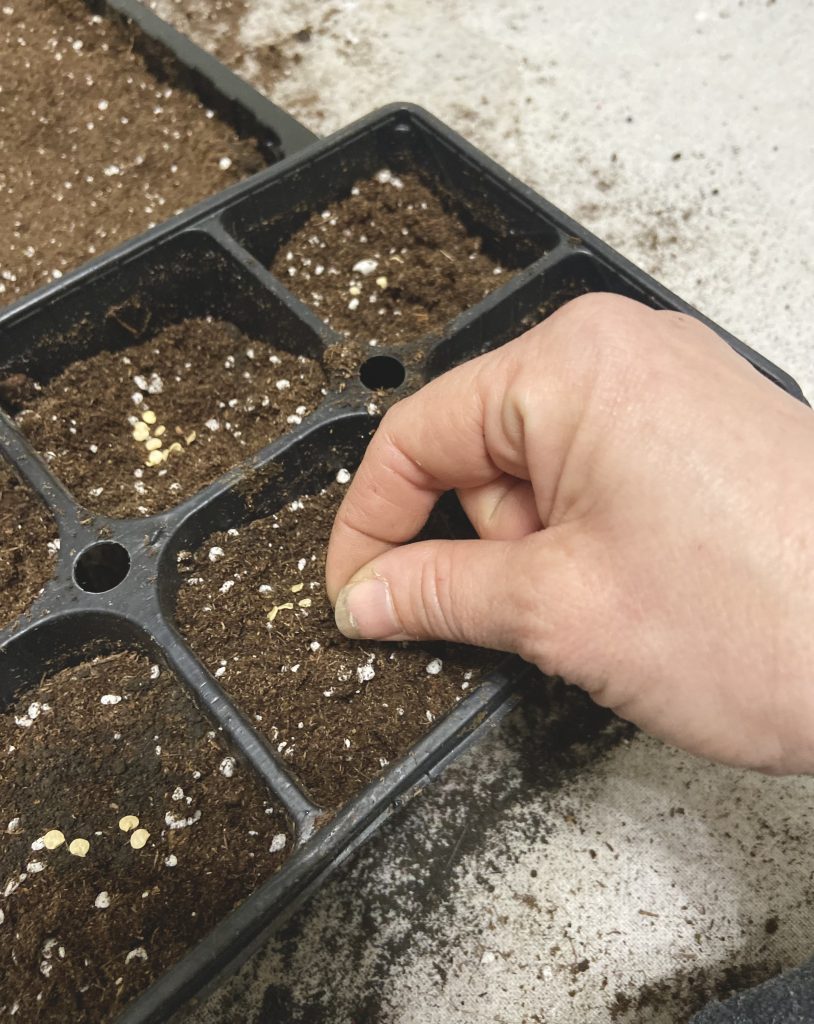
3.) Sprinkle, two to three seeds evenly over the planting mix surface. Cover with more planting mix and pat down.
Care of Vegetable Seeds Indoors
4.) Water your seeds completely and when it starts draining from underneath. I use a wonderful spray bottle that is great for watering all your seedlings.
You do not want puddles you want moist soil. Keep seedlings damp at all times, but not soaking wet! Once Seedlings have sprout water a bit less; keep soil moist but, not damp.
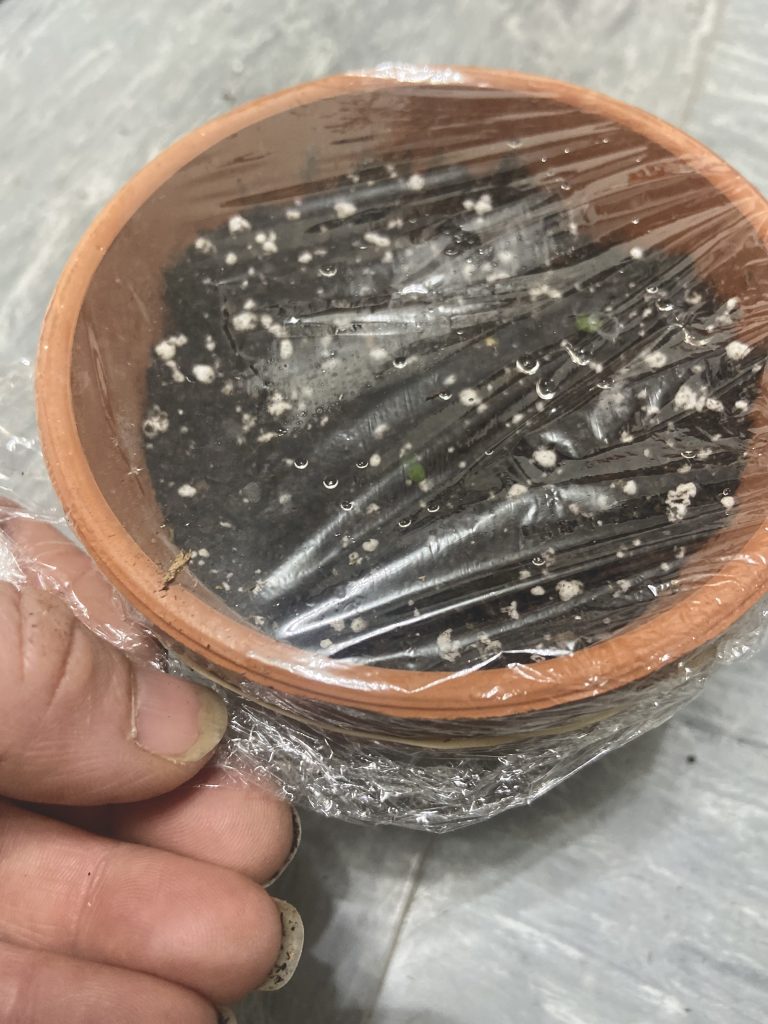
5.) Your seeds will need moisture, cover containers with plastic wrap or any type of plastic covering. When your seedlings sprout and are green you will not need covering anymore.
6.) Make sure your environment is warm; most seeds like a temperature around seventy degrees.
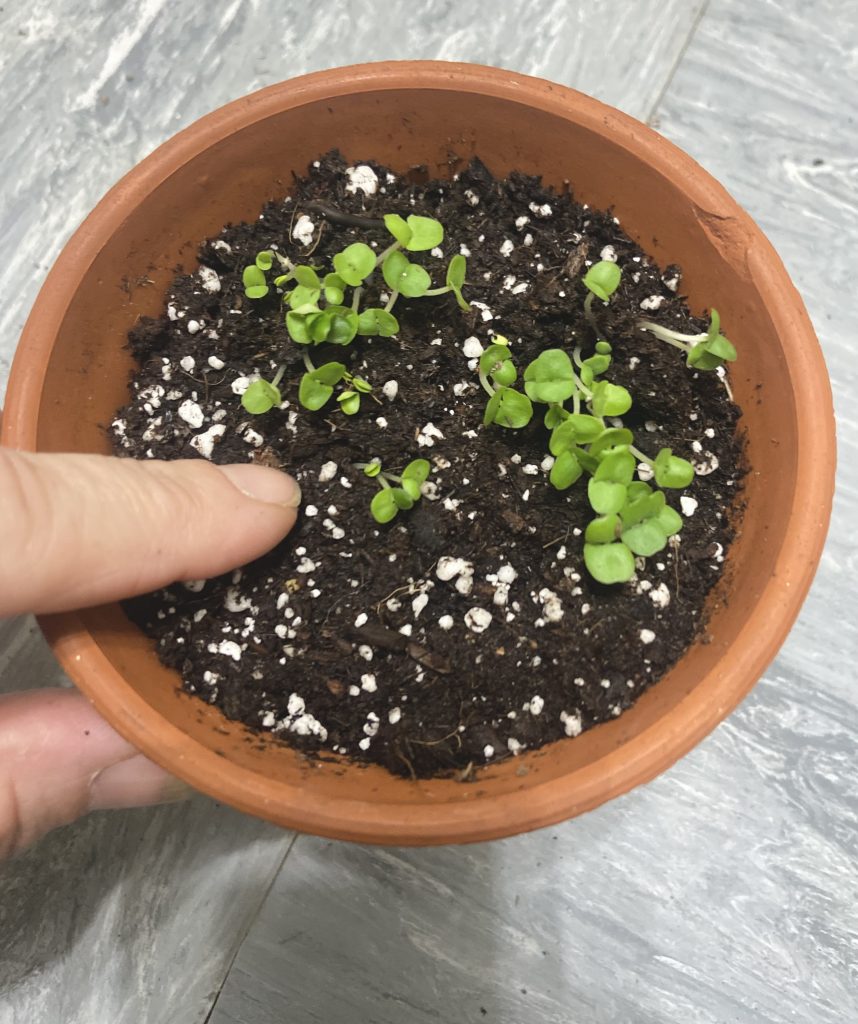
7.) Once your seeds germinate place sprouts directly by a windowsill that produces a good amount of light or use a controlled light source.

Rotate your containers regularly to ensure all your seedlings get the proper lighting.
8.) If you are using fluorescent lamps use a combination of cool white and warm lights. Your lights do need to be a few inches above your plant tips. Your fluorescent lights will need to be turned on for twelve hours a day.
Some people like to use fluorescent shop lights because they are cheaper, but LED lights are energy efficient and long lasting; keep that in mind. Use blue green light to germinate seedling and then switch to red light once your vegetable and flowers establish their structure.
9.) Transplant seedling plants if they are getting too big for their container and are not ready to go outdoors yet. Remember your seedling plants are delicate and need to be treated carefully.
10.) Once you have plants from your seeds it is time to hardened off.
Hardened off means acclimating your seedling plants to the outdoors. Find a location outdoors and place your containers outdoor for two hours and then move back indoors.
11.) Over the next seven days increase the hours. By day seven you should be up to fourteen hours.
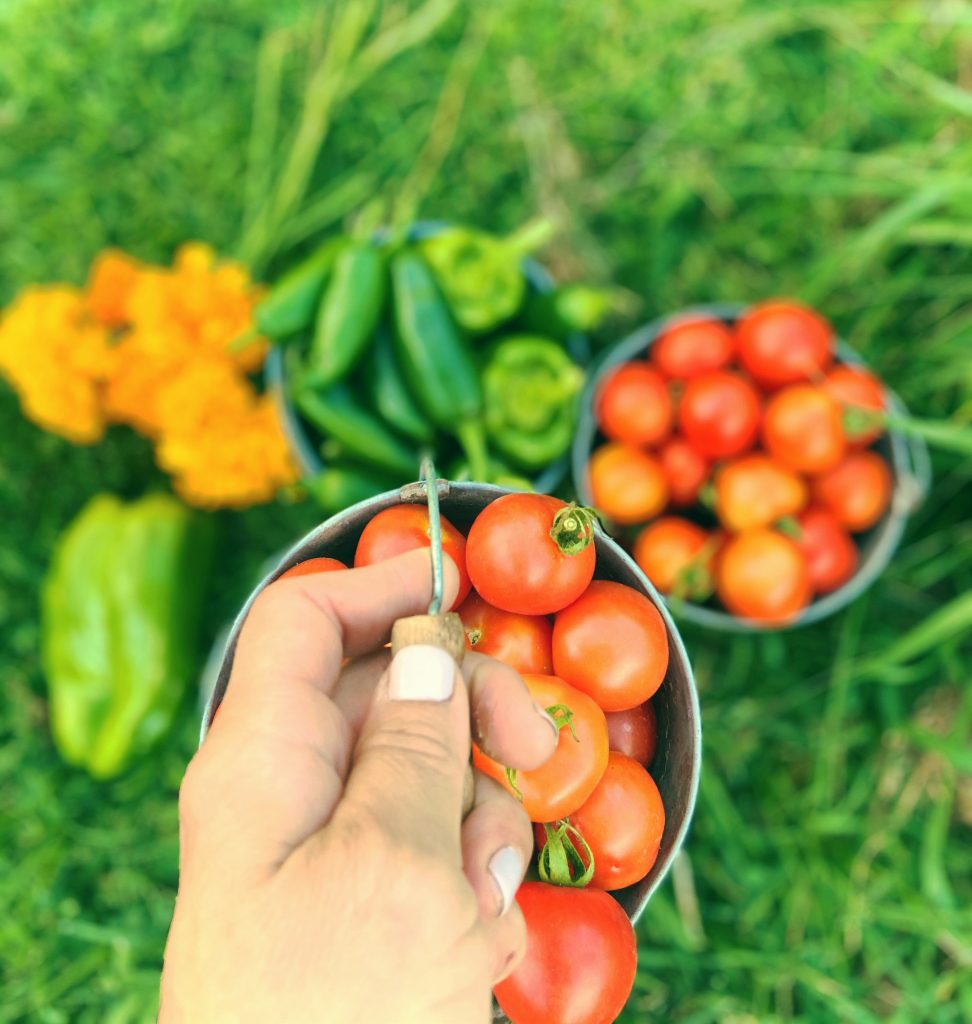
At this time your seedling plants are ready to be transplanted into the ground, in garden boxes or larger containers.
TIPS ON TRANSPORTING INDOOR VEGETABLE SEEDS
Learn your garden zone; once you know your zone discover your last frost date. My last frost date is the second week in May.

Check with your library or Farmer’s Almanac to determine last frost.
Plants such as tomatoes, peppers, and most herbs you want to be sure they are not in danger of frost and need to be planted after your last frost. Peas, beans, radishes, rosemary do not mind the cooler temperatures.
Prepare your soil with a good compose and proper till. Good soil should consist of compose.
Dig a hole about twice the size of your plant. Gently put your plant in place and press soil to secure your roots.

Water both your plant and soil well. Water every day for a week until all your plants are established.
Plant all your plants in late afternoon or a cloudy day. A hot, full sunny day could cause shock to your plants and resulting them to wilt.
If your plants are in pots; loosen them by gently squeezing around the pot to loosen from the pot.
Cradle your roots when moving from one space to another. Never grab your plants at the stem this can cause damage.
Want More Gardening Inspiration from the Farmhouse
HOW TO START A SIMPLE GARDEN FOR BEGINNERS
LEARN HOW TO BEGIN A PERENNIAL FLOWER GARDEN
GAIN KNOWLEDGE ON HOW TO START GROWING FRUIT TREES IN YOUR BACKYARD
Leave a Reply