
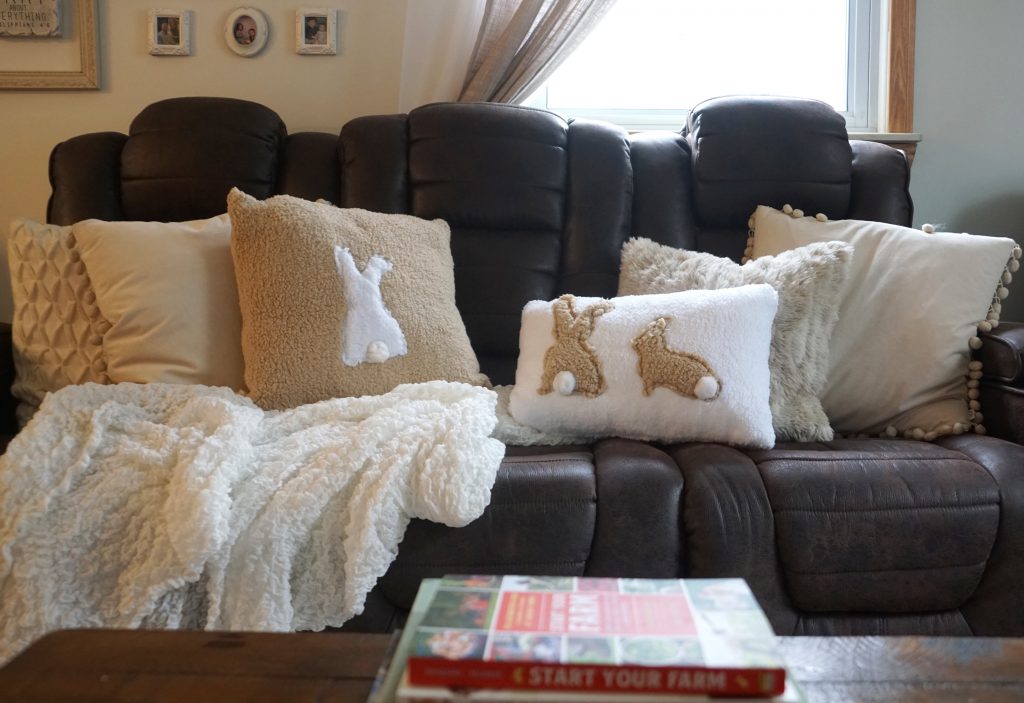
Learn how to sew an easy pillow cover with a zipper from scratch to warm up a space by providing some color and texture.
How to Sew an Easy Pillow Cover with a Zipper Video
Tips on How to Sew an Easy Pillow Cover with a Zipper
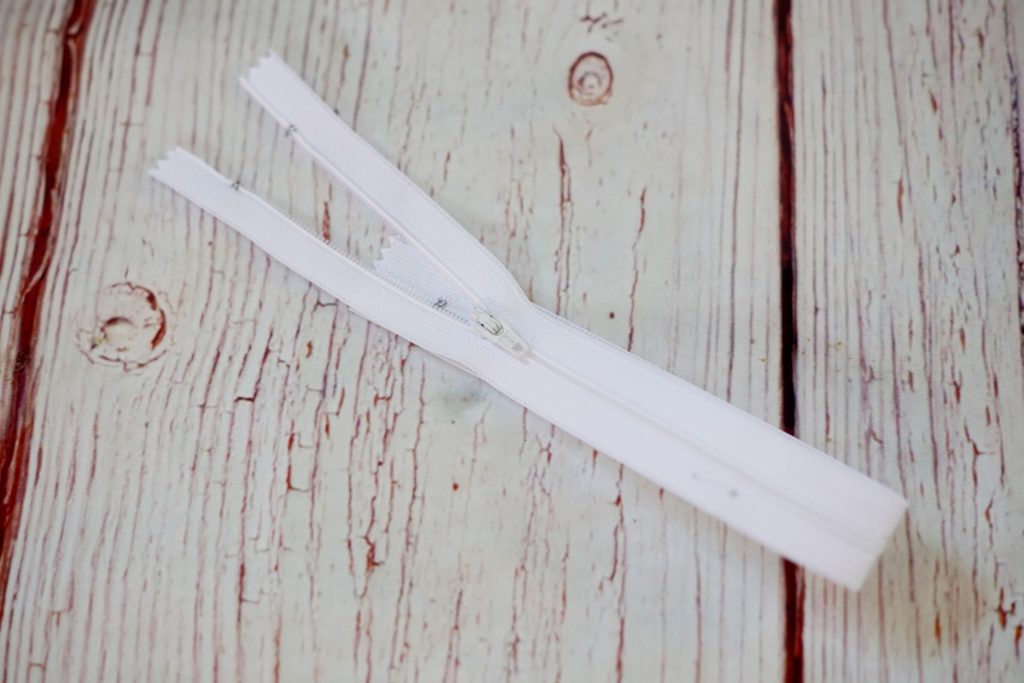
A zipper is a set of teeth or coils that interlock when closed.
Zippers can be plastic or metal. I am using a plastic coil zipper that is popular to use on pillows and some clothing.
Other zipper options are invisible and chain. Invisible can be used in skirts and dresses and Chain is used in bags, jackets, and jeans. Note, metal chain zippers are best for jeans and heavier material.
Adding a zipper to a pillow cover creates many options. You can easily take your pillow in and out of cover and wash.
Depending on the size of the pillow a standard zipper size is twelve inches in length.
How to Sew a Basic Seam on a Sewing Machine
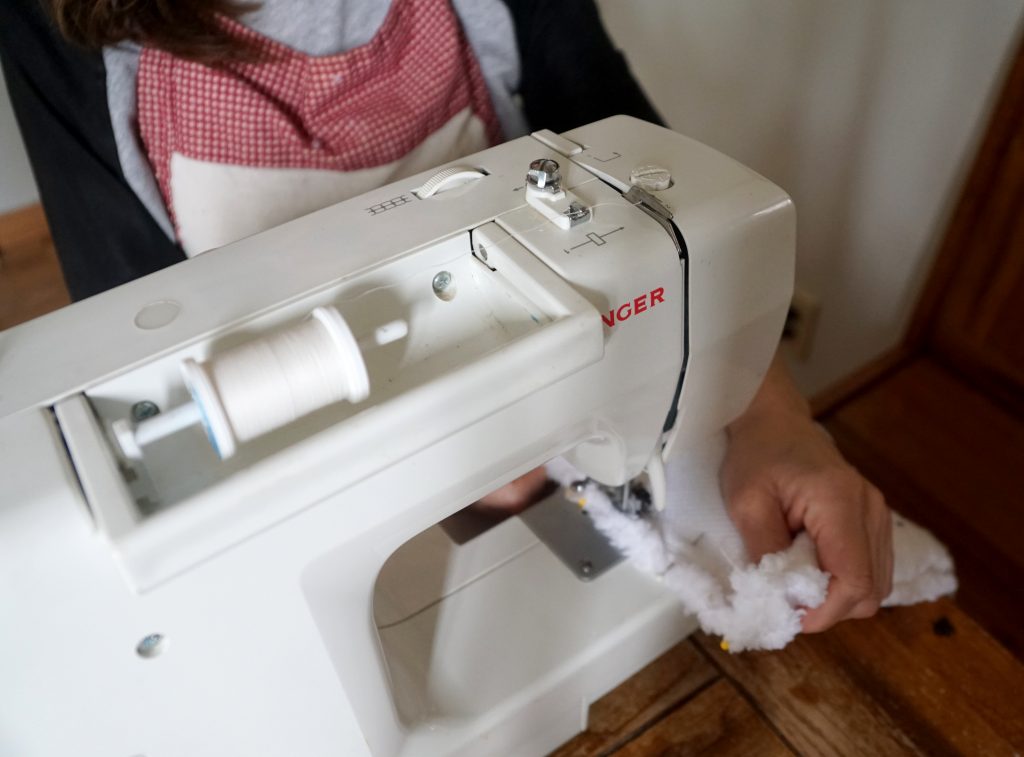
Having a sewing machine opens doors to create many types of seams but, the most common is just a plain, flat seam. Sewing a flat seam is done to combine two pieces of fabric together.
When you sew a basic seam on your sewing machine it is important that your needle and bobbin have the right thread and you are using the right needle.
Pin your fabric together with equal spacing about half inch to an inch apart.
After your machine is threaded properly, lower your pressure foot onto of your material.
Use the marking on the silver plate to guide you in a straight line and provide accurate seam allowance; this will depend on the project. Typically, I like to work with a half inch seam allowance. Learn your back stitch to secure all your stitches.
Finally, lift your pressure foot and needle, and cut thread to release project.
Beginner Sewing Supplies

NEEDLES AND PINS
Pins are a necessity in beginning sewing. Your pins should be dressmaker pins and thin and sharp. Pins should not big; where they will leave pin hole in any fabric you are working with. Use seamstress pins to create accurate work and save time. I like using a pin cushion to place my unused pins into.
Needles need to be used in conjunction with your thread and fabric. Use a fine needle for fine threads and a heavier needle is needed for strong material.
Next, when buying needles for hand stitching or your sewing machine look for the needle that will work best with the fabric you have selected to sew.
Remember, buy a needle that is made of steel and the point is smooth and sharp.
It is best to use a sharp needle and replace any dull ones for getter results.
A size twelve is a common sewing machine needle to use.
PLASTIC-HANDLED FABRIC SCISSORS
Plastic-Handled Fabric Scissors are an investment that you will need. I like to have two pairs of sewing scissors; one for cutting material and the other just for clipping lose threads. Your cutting scissors should be about eight inches in length and heavy duty. I would purchase scissors that have a good warranty and excellent quality.
Do not use your plastic-handled fabric scissors on anything other than fabric.
How to Sharpen your Fabric Scissors
When scissors begin to become a little dull, take a sheet of aluminum foil and folds in fourths. Cuts 8 times and it should do the trick. If still dull repeat the process.
THREAD
Thread just like a needle needs to be purchase in a coordinating color of the material you are working with. You want your thread to blend with the colors within the material.
Finally, thread should reflect the fabric you are buying.
For Example, fabric such as cotton; thread should be cotton, heavy duty or multi-purpose.
OPTIONAL SUPPLIES FOR BEGINNERS
An Iron is important for all your sewing projects especially this work apron with pockets to create a finish look.
An electric iron is an option because, it heats up quick and retains its heat.
I like using an iron in between sides that I sew to smooth the fabric and give a finished look.
Tape Measure are important to sewing because we measure everything when there is cutting and sewing involved.
Your work must be accurate, and a tape measure will be your best friend in achieving a tailored work on your pillow cover with a zipper.
Fabric Pen should be disappearing and water-soluble because when it is washed it will clean up nicely.
How to Sew an Easy Pillow Cover with a Zipper Tutorial
Adding a zipper to you pillow color provides many features such as it is easy to insert your pillow form and pull out to clean and store for future use. Also, zipper pillow covers give options to change the cover per season.

Materials
- Pillow Form in any size (I am using two different sizes)
- Fabric (I am using brown and white for this sewing project)
- Thread in coordinating color
- Zipper
- Zipper Foot for your Sewing Machine
- Sewing Scissors
- Ruler
- Fabric Pen
- Tape Measure
- Straight Pens
- Iron
- Sewing Machine
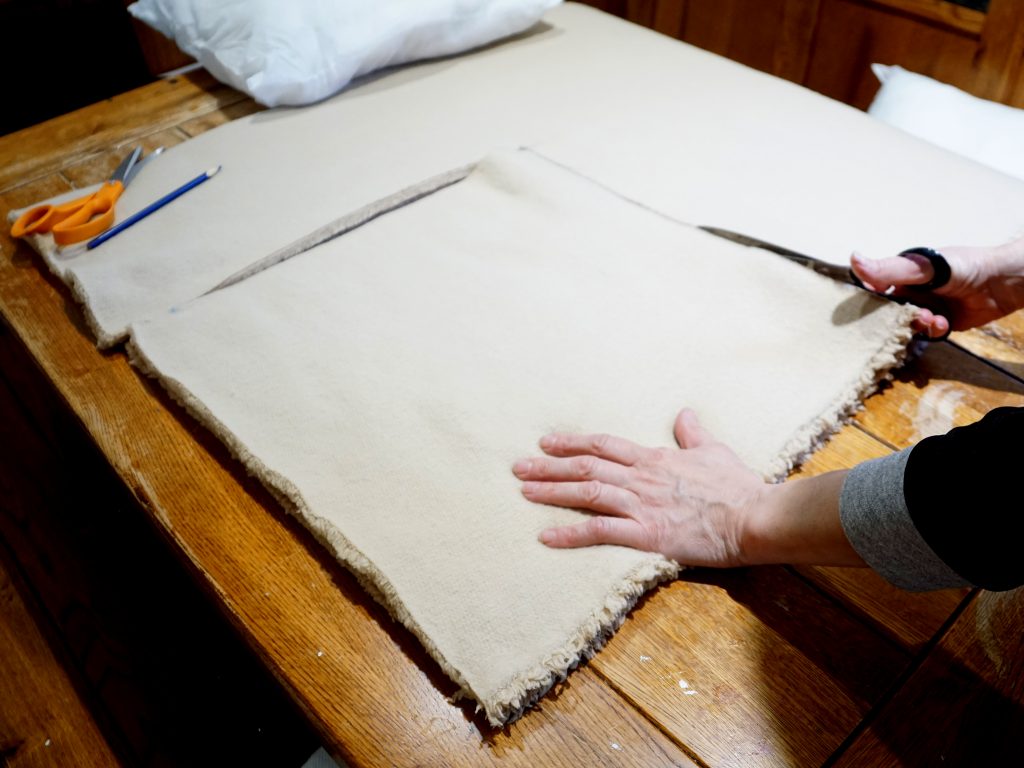
First, cut your material one inch larger than you pillow insert for seam allowance.
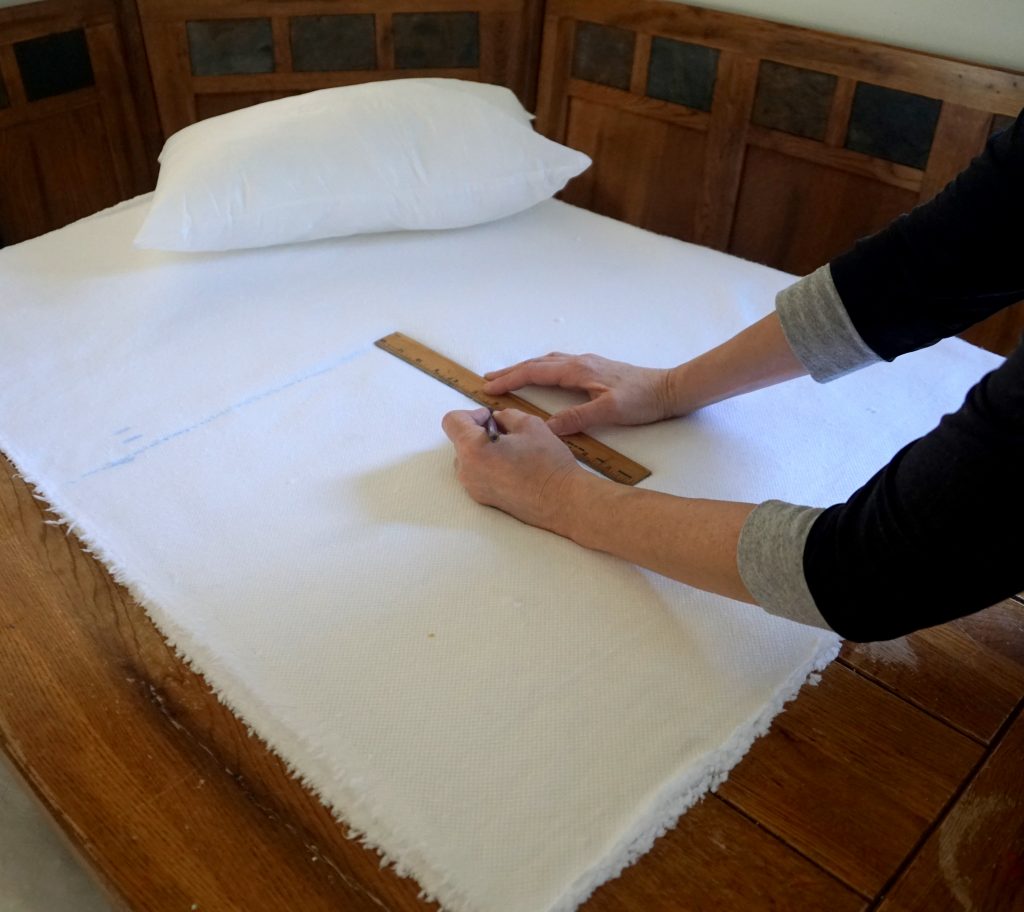
Next, with a ruler and fabric pen draw out your square or rectangle.

Pin your two squares or rectangle together with straight pins: right sizes facing.
Sew all three sizes on your sewing machine about half inch from edge and back stitch to secure each of the three sides.
On your fourth size, measure your zipper length and mark with fabric pen to location of the zipper. Stitch up to your two markings.
Press all your seams open with a hot iron.

Now lay your zipper flat facing down on the opening seam. Pull your zipper open and pin in place to your pillow cover.
Use your zipper foot and sew about 1/4 inch, stopping 1/2 inch from the top. Sew the top and bottom of zipper to secure in place.
Remove all your straight pins and turn pillow cover right side out.
Finally, iron everything to smooth our corners and lines.
Leave a Reply