
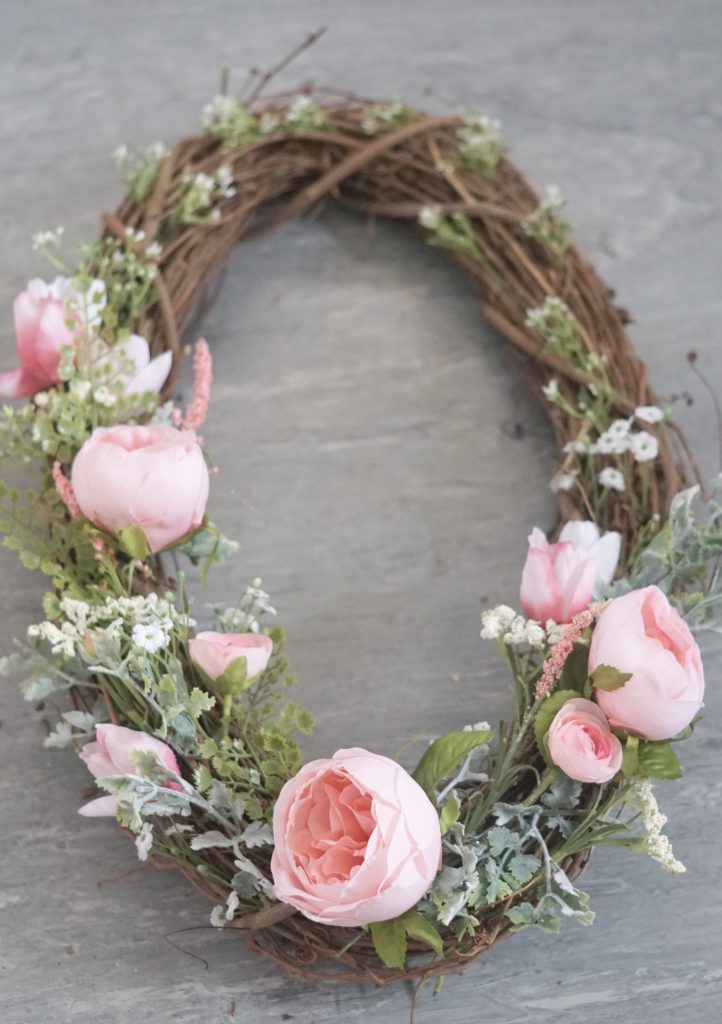
Learn how to make an Easter Wreath without Mesh but, with beautiful tulips, peonies and green sprigs to spruce up the front door this spring.
How to Make an Easter Wreath without Mesh Video
Supplies Used to Make an Easter Wreath without Mesh

- Grapevine Egg Shape Wreath
- Glue Gun
- Scissors and/or Wire Cutters
- Pink Tulips that are Faux (Look for dull and bendy stems for a realistic look)
- Faux Peonies
- Faux Greenery (Greenery can be in any variety it is meant to be a filler around the wreath. Some greenery filler examples are eucalyptus, cilantro, lamb’s ear, etc.)
Tips on How to Make an Easter Mesh without Mesh
Decorating and making your home nice does not have to be expensive. If you are willing to put in a little work, you can create a home that looks stunning.
Your style of wreath can be very unique and personal to your style.
Do not be afraid to move around your faux peonies, tulips and greenery often. Sometimes it takes time to create your desire look.
Preheat your hot glue gun to ensure the glue is nice and warm before placing anything on your wreath from. Keep a bowl of ice water close by for any accidental burns. If you burn your hand or fingers on your hot glue gun soak in the ice water for relief.
Remember use very little glue, a small bit goes a long way!
Make sure you have all your supplies such as wire cutter, glue gun and bowl of ice water in arms reach to be able to create your Grapevine Easter Wreath with ease.
Wreaths do not all have to be shaped like the letter O, they can be oval, a cross, diamond, star, etc.
I prefer a strong command hook to hang all my wreaths verses a wreath rail. The command hook looks nicer and is more durable. A wreath rail is bulky and clangs a lot on my front and back doors when opening and closing.
Variety of Easter Wreath Flowers

Tulips are a traditional flower of spring that will grow large and bright. Planted and prepared in the Fall these gorgeous flowers show up every spring to spark joy! The variety of color in Tulips is endless from pink, purples, peach to red.
Peonies burst with joy and bloom in late spring. The fullness of peonies brings a lot of depth to a spring grapevine wreath. This spring flower loves lots of sun and is a perennial.
Roses are another spring wreath idea that you can add. I did not add roses this time but, it is something I was considering. Roses are popular and bloom all summer long. The reason I did not choose roses to add to my spring wreath this time is because I wanted early spring florals.
Lavender is not only beautiful but, smells amazing. This purple, perennial flower is a treat to add to any spring floral wreath. Yet again, I decide to not add lavender but, I think it will look nice if you choose to use.
How to Make an Easter Wreath without Mesh Tutorial
I was browsing the Pottery Barn Website and notice a cute Easter Egg Wreath but, the price sticker was ninety-nine dollars. No way, can I afford ninety-nine dollars! Making this wreath was very inexpensive and under twenty-five dollars and a perfect Pottery Barn Dupe. You can refresh any space on a budget you just have to get a bit creative. Pottery Barn is great for inspiration, and you can create the same look on a budget.
Easter Wreath Supplies

- Grapevine Egg Shape Wreath
- Hot Glue
- Scissors or Wire Cutters
- Four to Six Faux Pink Tulips
- Two to Three Faux Peonies
- A Variety Faux Greenery
Directions to Create your Grapevine Wreath
First, take your wire cutters and cut your desire leaves and flower sprigs that you would like to use on your Easter Spring wreath. Do not cut to short but, right in the middle, you can always trim if needed.
Note, I am using faux florals because most of the flowers I wanted to use have not bloomed yet.
Next, take your newly cut sprigs that should have stems of three to six inches long and play around with how you would like to look on your wreath. I started on the right and worked my way over to the left. Once I was about halfway up the left, I added little sprigs around to meet the peony on the right.

Note, before gluing or securing anything down position sprigs to create where you like them to be placed. Any sprigs that are too long trim to fit on the wreath. Do not be afraid to bend and move your stems around.
This is the part in wreath design that is time consuming because you have to place and replace until you like it. I am picky so this is often longer than normal. Layer and overlap your faux sprigs to create dimensions. Use filler greenery to fill gaps and open spaces.
I decide to have my sprigs off center because it gave an interesting style. You can add, delete or place your florals anywhere you like the possibilities are endless.
Now hot glue your sprigs to the wreath or secure in place.
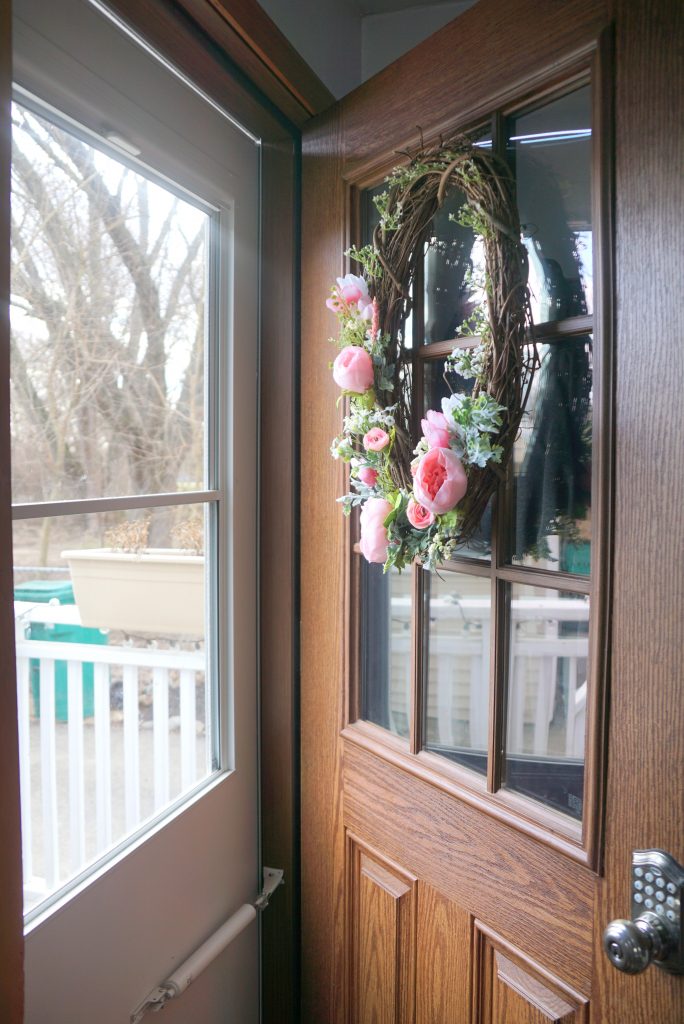
Finally, secure your hook onto the location of choice such as a front door, window or mirror.
Easter Wreath Making Ideas
Creating an Easter Wreath has endless possibilities. You can make a wreath with plastic Easter eggs, a variety of different spring flowers such as roses and lavender, mesh in any color, bows such as burlap, bunny ear grapevine wreath form and/or shape as a cross.
My wreath is just one option but, design an Easter Wreath with what you love and are inspired by to refresh your space this spring.
More Beginner DIY Inspiration
HOW TO MAKE A NATURAL SPRING WREATH
HOW TO SEW AN ENVELOPE BACKED PILLOW COVER
Leave a Reply